4 Ways to Upload Product Images to Shopify

Every Shopify store owner knows the struggle of managing product images. Whether you're launching a new collection or updating existing products, getting images from your storage to your store can be a time-consuming nightmare.
After helping hundreds of store owners optimize their image management process, I've identified four main approaches to uploading product images to Shopify. Each has its pros and cons, and the best choice depends on your store size, budget, and time constraints.
Related reading: If you're new to Shopify, check out our guide on how to optimize your Shopify store for better performance and learn about the common challenges store owners face.
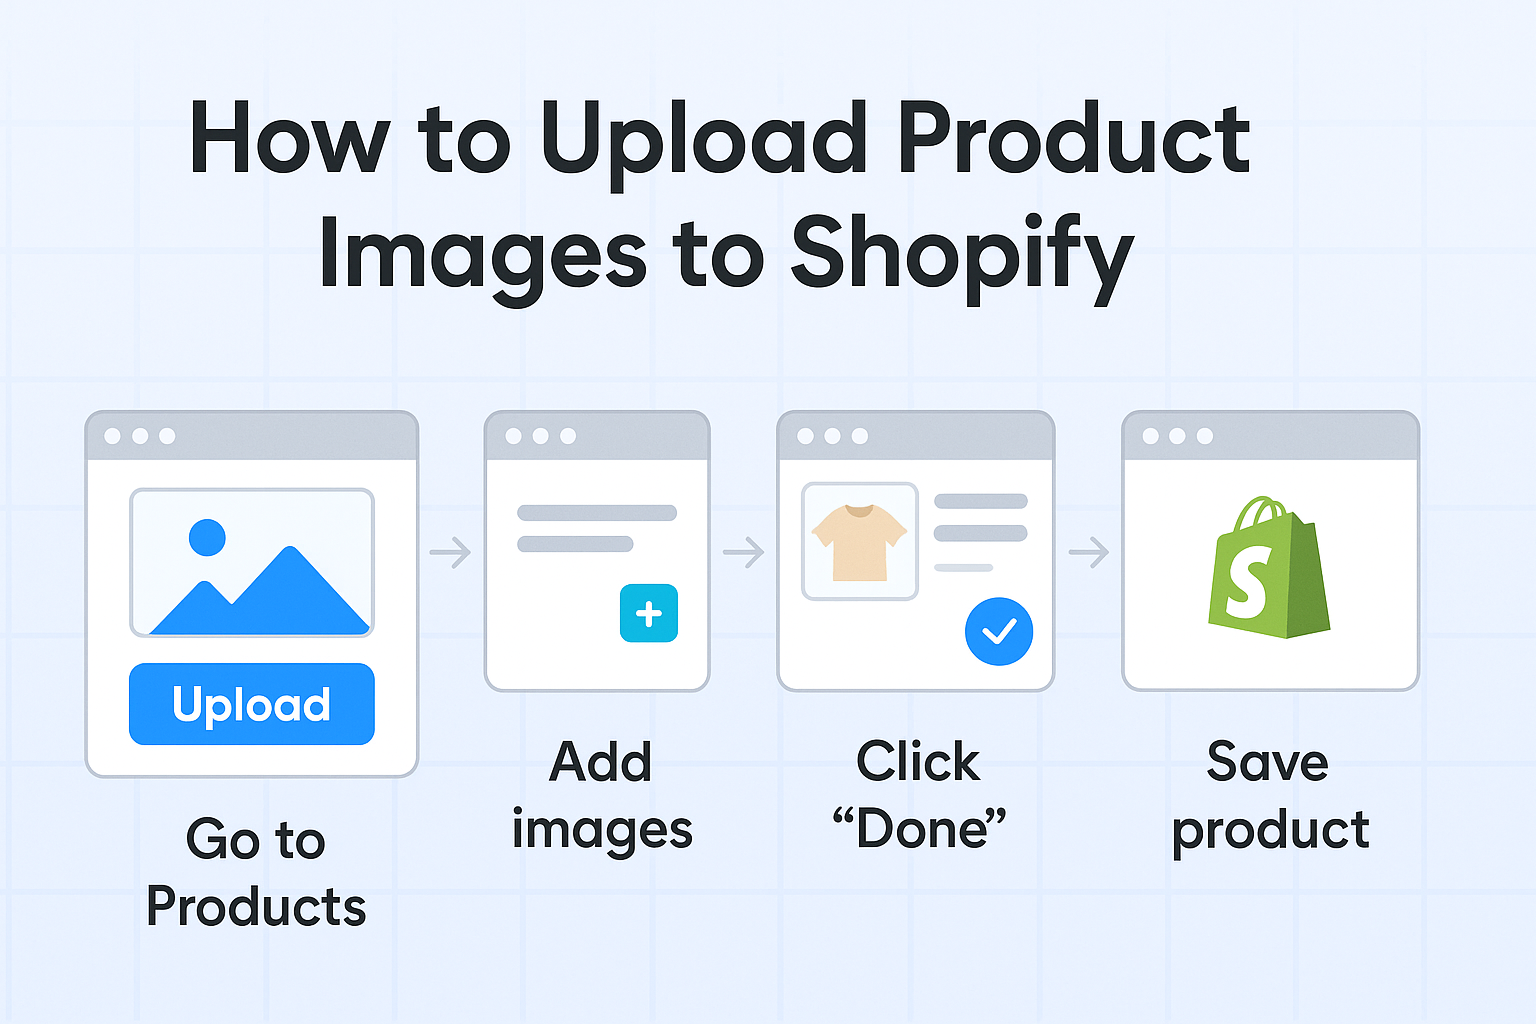
Method 1: Manual Upload (The Traditional Way)
How it works: Download images from Google Drive/Dropbox, rename them to match product names, then upload them one by one through Shopify's admin panel.
Time estimation: 2-5 hours for 50-100 images, depending on your organization and Shopify's interface speed.
Pros:
- No additional costs
- Complete control over the process
- No learning curve for new tools
Cons:
- Extremely time-consuming
- High risk of human error
- Repetitive and mind-numbing work
- Scales poorly with larger inventories
Best for: Small stores with occasional image updates (under 20 products)
Real story: My mom's team was spending 5-10 hours every week on this process. They'd download images from Google Drive, manually rename each file to match product names, then upload them one by one. The frustration was real, and mistakes were common.
Learn more: For small stores, Shopify's official product image guidelines recommend using high-quality images with consistent dimensions for optimal display.
Method 2: Hire a Virtual Assistant or Agency
How it works: Outsource the entire image management process to a professional service or virtual assistant.
Time estimation: 1-3 days turnaround, depending on the agency and workload.
Cost: $15-50 per hour, or $200-800 per project for larger inventories.
Pros:
- Hands-off approach
- Professional quality control
- Can handle large volumes efficiently
- Frees up your time for other business tasks
Cons:
- Expensive ongoing cost
- Requires clear communication and briefs
- Less control over the process
- Potential delays due to time zones or availability
- Need to manage external relationships
Best for: Large stores with consistent image volume and sufficient budget
Real story: One of our customers was spending $400/month on a virtual assistant just for image management. While it worked, the cost was eating into their profit margins, and they still had to spend time briefing and managing the process.
External resources: If you're considering hiring help, platforms like Upwork and Fiverr offer access to skilled virtual assistants who specialize in e-commerce tasks.
Method 3: Use ImageFlow (The Automated Solution)
How it works: Connect your Google Drive or Dropbox to Shopify through ImageFlow, and let intelligent algorithms automatically match and upload your images.
Time estimation: 5-10 minutes for 100+ images, including setup.
Cost: Free up to 50 images, or $39/month for unlimited images with priority support.
Pros:
- Dramatic time savings (90%+ reduction)
- Intelligent matching based on product names, SKUs, or barcodes
- Handles naming variations automatically
- No technical knowledge required
- Immediate results
- Scales with your business
- Automatic image compression - Optimizes images for faster website loading
- SEO optimization - Automatically adds alt text and optimizes image metadata
- Faster product detail pages - Compressed images load 3-5x faster
- Better search rankings - Optimized images improve your store's SEO performance
- Free tier available - Start with 50 images at no cost
Cons:
- Monthly subscription cost for unlimited usage
- Requires initial setup (though it's very simple)
Best for: Any store that regularly updates product images and values time over manual control
Related content: Learn more about how ImageFlow was created and the real business problem it solves for Shopify store owners.
Real story: After implementing ImageFlow, my mom's store went from spending 5-10 hours per week on image management to just 5-10 minutes. New collections now go live the same day they're photographed. Plus, her website loads 40% faster thanks to automatic image compression, and her products rank better in search results due to optimized image metadata.
SEO benefits: According to Google's PageSpeed Insights, image optimization can improve your Core Web Vitals scores by up to 30%, directly impacting your search rankings.
Method 4: Write Your Own Code (The Developer Approach)
How it works: Build custom code to connect Google Drive/Dropbox APIs to Shopify's API, handling authentication, file processing, and image matching algorithms from scratch.
Time estimation: 40-80 hours for development, testing, and deployment, plus ongoing maintenance.
Cost: $5,000-15,000 for development, plus ongoing maintenance costs and developer time.
Pros:
- Complete customization control
- No monthly subscription fees
- Can be tailored to specific business needs
- Full ownership of the solution
Cons:
- Extremely expensive upfront cost
- Requires significant technical expertise
- Months of development time
- Ongoing maintenance and bug fixes
- Need to handle API rate limits and authentication
- Must build image compression and SEO optimization yourself
- High risk of project failure or delays
- No support or documentation
Best for: Large enterprises with dedicated development teams and specific requirements that can't be met by existing solutions
Real story: A client of mine spent $12,000 and 3 months building a custom solution. Six months later, they switched to ImageFlow because maintaining the custom code was costing more than the monthly subscription, and they were missing features like automatic compression and SEO optimization.
Developer resources: If you're considering custom development, check out Shopify's API documentation and Google Drive API guides for technical implementation details.
The Bottom Line: Which Method Should You Choose?
For small stores (under 50 products): Manual upload might be tolerable, but ImageFlow is free for your first 50 images and provides automatic compression and SEO benefits.
For growing stores (50-500 products): ImageFlow is the clear winner. The time savings alone make it worth the $39/month cost, plus you get faster loading times and better SEO.
For large stores (500+ products): Consider ImageFlow for regular updates with priority support, or hire an agency if you have the budget and prefer hands-off management.
For technical users considering custom development: Unless you have very specific requirements that can't be met by existing solutions, ImageFlow provides the same Google Drive/Dropbox connectivity out of the box without the development costs and maintenance headaches.
Industry insights: According to Shopify's State of Commerce report, 73% of successful stores use automation tools to streamline their operations, with image management being one of the most common pain points.
Why ImageFlow Wins for Most Stores
The math is simple: if you're spending more than 2 hours per month on image management, ImageFlow pays for itself. Most store owners I talk to are spending 5-10 hours per week on this task.
That's 20-40 hours per month that could be spent on marketing, customer service, product development, or simply growing your business. At even minimum wage, that's $200-400 worth of time every month.
ImageFlow starts free for 50 images, then costs $39/month for unlimited uploads with priority support. It reduces that time to 5-10 minutes while also improving your website's loading speed and SEO performance. The ROI is immediate and substantial.
Business impact: Research from McKinsey & Company shows that automation can increase productivity by 20-30% while reducing operational costs by up to 25%.
Getting Started
If you're ready to stop spending hours on manual image uploads, ImageFlow offers a free trial that takes just 5 minutes to set up. You'll see the difference immediately.
The setup process is simple:
- Install the app from the Shopify App Store
- Connect your Google Drive or Dropbox account
- Select your image folders
- Start uploading
No technical knowledge required, no complex configurations, just immediate time savings.
Additional resources:
- Shopify's App Store guidelines for choosing reliable apps
- Google Drive best practices for organizing your product images
- Dropbox file organization tips for efficient image management
Because honestly, life's too short to spend it manually uploading product images - especially when there's a better way.